
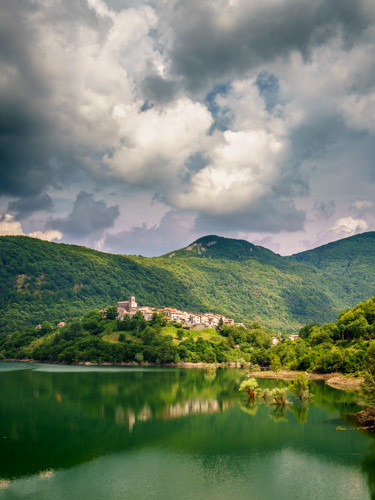
This is a walkthrough of how I took this image and its final editing in Lightroom.
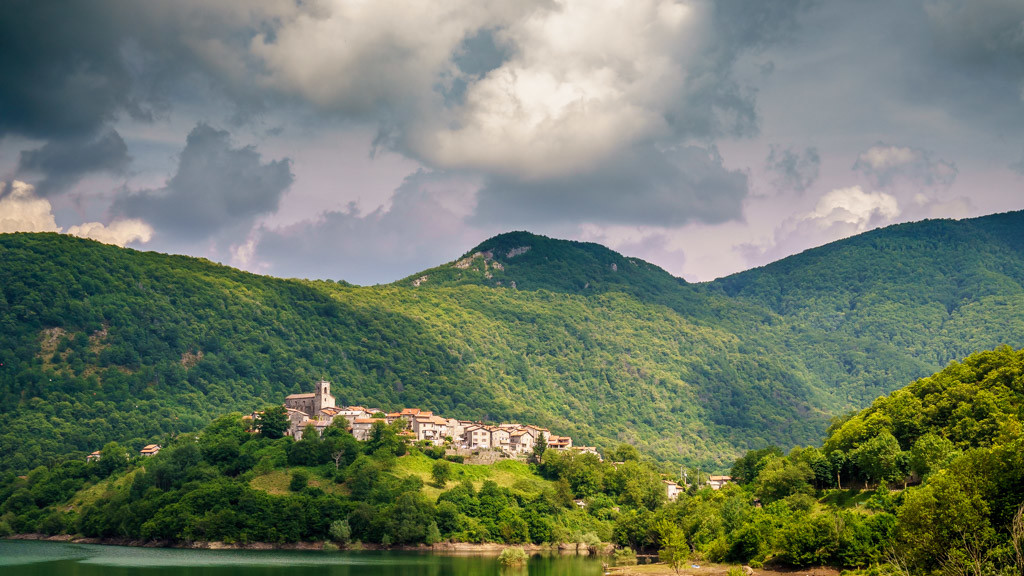
This image was taken during one of my many trips to Tuscany. It was shot late in the afternoon during the month of June. This is another example of why I always maintain that you can indeed take photographs in the middle of the day. You do not need to limit yourself to shooting only in the morning and late in the evening.
We had spent the day in Vagli Sotto, the village that you can see in the photograph. While driving over a short bridge as we left the village, we happened to look to our right and saw this view. The two things that drew me to this scene were the reflection of the village as it sits proudly above the lake and the texture in the clouds. Nothing else for it but to stop the car in the middle of the bridge and get out. Even although it’s not a busy road, we only had time to compose one or two images. There was no time to faff about with tripods or filters.
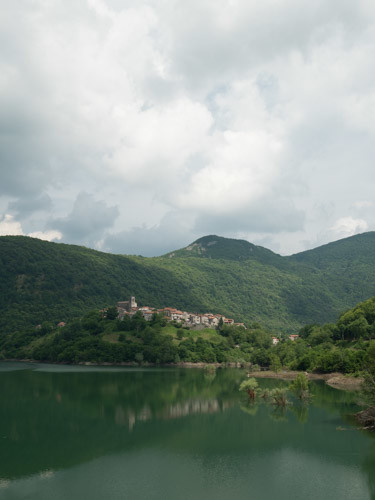
With the shot taken it was now up to Lightroom to work its magic on the usual flat raw image. This is a summarised walkthrough of the image editing in Lightroom.
Step 1
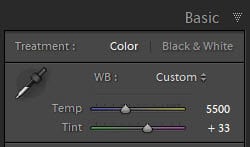
After importing the image and opening it in the Develop module, I changed the white balance to warm the image up slightly. Since I had no obvious neutral grey area to select, I picked the daylight preset from the white balance drop-down list. This did warm the image but I could see that there was a strong green cast over the entire image, so I raised the Tint slider to +33.
Step 2
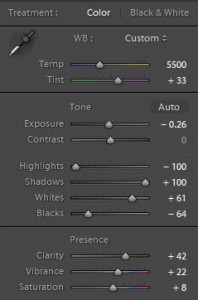
Immediately after setting the white balance, I moved onto the Tone adjustments. Because of the high dynamic range of this image, I began with my usual initial steps. I dragged the Highlights slider to -100 and the Shadows slider to +100. This brought out a load of detail and information in the sky and the foreground. However, it also flattens the tone of the image. To add contrast back into the image, I raised the White slider to +61 and lowered the Black slider to -64. This created the necessary contrast but did result in some of the highlight areas of the sky being blown out but that’s an easy fix.
Step 3
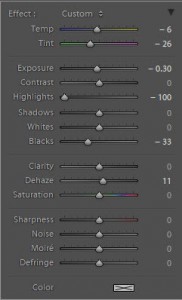
Now to bring back the details and tone of the sky area. I am going to add a Graduated Filter to mimic the effect of having used an ND Grad in front of the lens at the time of capture. Lightroom does a marvellous job of this and I think it is as good, if not better than any expensive ND Grad filter.
I dragged out the filter from close to the bottom of the sky area and allowed a large transition area. The main adjustment I made was to the Highlights slider. Again, I dragged this all the way down to -100 before lowering the Exposure and Black sliders slightly.
Step 4
This isn’t really an image that requires much more than basic tone adjustments. So, I skipped straight to the Detail panel to add some sharpening and a tiny amount of noise reduction. The image was shot at ISO 400 and I know that with my Sony a7Rii, I do not need much noise reduction at anything below ISO 800. I am not a big fan of noise reduction. It is my belief that photographs should always have a bit of texture to them and should never look perfectly smooth. Being perfectly smooth makes photographs look too digital for my taste.
I tweaked all the Sharpening sliders with the exception of the Detail and I applied an adjustment of 10 to the Luminance slider under Noise Reduction. All the other sliders in the Details panel were left at the defaults.
The Lens Correction panel is not needed because I applied this during the import process. So now it’s on to the Effects panel.

Step 5
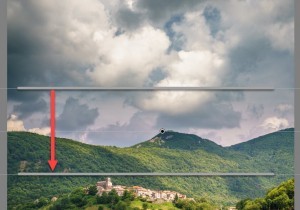
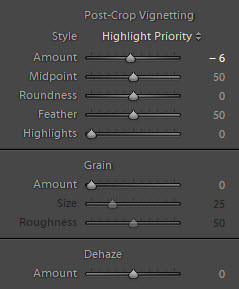
This is my final step. Under the Effects panel, I added a small amount of vignette to darken the corners and draw the viewer’s eye into the centre of the image. I don’t think this step is entirely necessary because the inverted V shape created by the reflection will draw the eye to the centre of the image but I thought the vignette would just emphasise the reflection.
Done!
Conclusion
This was one of those photographs that I would like to have spent more time on at the capture stage, but being parked in the middle of a narrow bridge over a lake meant I had to be quick. I knew that provided I had a fast enough shutter speed and I exposed for the highlights, I would be able to get a sharp hand-held image that would respond to some editing in Lightroom. I composed the shot to ensure I had the inverted V shape of the reflection in the bottom of the image while ensuring that I had enough of the sky.
Very often we find ourselves in this situation where we see views as we drive along a road and we don’t get a choice of stopping in a safe place. We simply have to do our best to grab a shot or keep driving. In this case, I am glad that I didn’t keep driving.


Leave A Comment