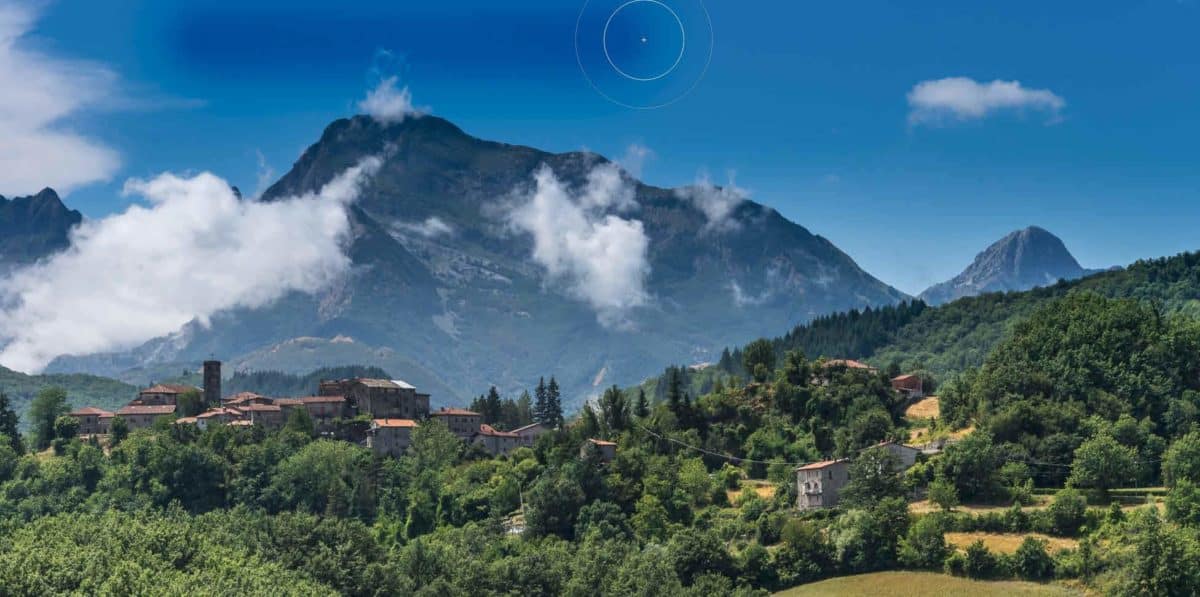
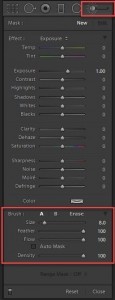
A lot of Lightroom users will be accustomed to using the Brush tool to make local adjustments but many don’t understand the difference between Flow and Density. So my goal of this article is to clarify the difference between the Flow and Density sliders found in the Adjustment Brush tool. To help with understanding, let us imagine a paint gun. You know the type you would use to spray paint a car?
Flow
The Flow setting will control the speed at which the adjustment is applied with each stroke of the brush. A Flow of 100 will apply all your adjustment in one stroke of the brush. With a lower Flow setting, it will take longer and require more passes with the brush to apply the effect in its entirety.
Now, this may lead you to think that the adjustment is linear, but I don’t believe it is. For example, if the adjustment was linear and you had the Exposure slider adjusted to +1 and the Flow set to 50, you would imagine that it would take 2 passes of the adjustment brush to apply the full +1 Exposure adjustment. But my experience shows that it is not that simple. I have noticed that it takes more passes than a simple linear division would suggest, but the adjustment does eventually reach its full strength.
So, using our spray gun filled with paint, imagine the Flow setting is how hard you squeeze the trigger of the spray gun. If you squeeze it to its full setting, you will spray more paint in one pass of the brush than if you had squeezed the trigger to halfway.
A low Flow setting is useful when slowly dodging and burning areas of an image.
Density
The Density slider determines the maximum amount of the adjustment that can be applied. For example, if you set the Density to 50 and set the Exposure adjustment to +2, no matter how many times you brush over an area, you will never get more than +1 Exposure.
A lot of photographers simply adjust the Density to get the amount of effect that they want and just leave Flow at 100, but I think it is better to reverse this thinking. If you set the Density to 100 and reduce the Flow, you can get far better and more accurate results by slowly building up the adjustment until it looks good. For example, I don’t see the logic in setting the Exposure to +2 and reducing the Density slider to 50. Just set the Exposure to +1 and leave Density at 100 and slowly build up the adjustment using the Flow.
Again, let’s think of our spray gun. The Density slider can be thought of as the thickness of the paint. If the paint is watered down to 50% of its density, you are never going to be able to get a thick dense colour. You could if you let it dry between coats, but the adjustment brush remains “wet”. The metaphor breaks down a wee bit here, but I hope you get the point.
Something to remember
Neither the Flow or the Density adjustments can be altered after you have brushed them on. This is contrary to what we are used to with Lightroom’s non-destructive workflow. Normally you can alter any of the adjustments after they have been added, but the Flow and Density cannot be altered. Your only option is to use the History panel to or the Undo command to remove the brush stroke(s) and paint them again.



I see absolutely no use for density slider. Just leave it a 100 and never touch it. Use flow to control the amount of adjustment. Is there any purpose, or real life practical use for density slider?
Robert,
You may well be right. I have used it when I am applying several different brush strokes to different areas of an image. For example, if I have an adjustment of -1.5 exposure dialled in, rather than changing the Exposure setting with each new brushstroke, I have adjusted the Density slider. The effect is the same, but it is nothing other than an easier mouse movement for me when I am editing a large number of images. It’s six and half-a-dozen.
Martin.