
As ridiculous as it may sound, you can increase contrast in a colour image with a black and white adjustment layer. A black and white adjustment layer in Photoshop, or any similar application, is designed to convert a colour image to black and white. Using an adjustment layer to create the black and white conversion means the process is non-destructive. The new adjustment layer has settings that allow you to adjust the look of your black and white conversion as often as you wish. It is genuinely non-destructive when you use an adjustment layer. But, in this tutorial, I am going to show you how to employ a black and white adjustment layer in Photoshop to create more contrast in a colour image.
Create the black and white adjustment layer
With an image already open in Photoshop, I am going to add the black and white adjustment layer.
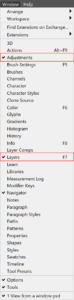
- Ensure you have both the Layers panel and the Adjustments panel open. You can open both the Layers panel and Adjustments panel by ensuring they are ticked in the Window menu;
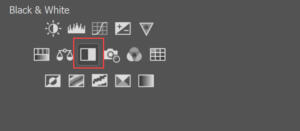
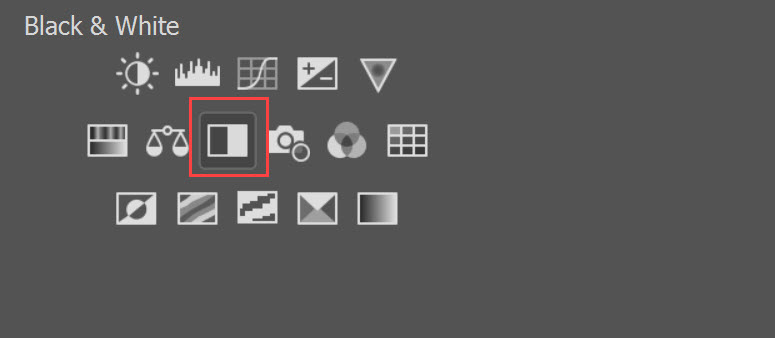
- Click on the Black and White adjustment layer icon in the Adjustments panel;
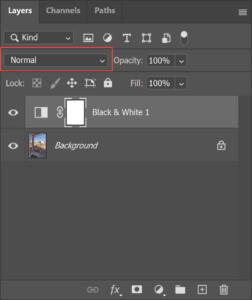
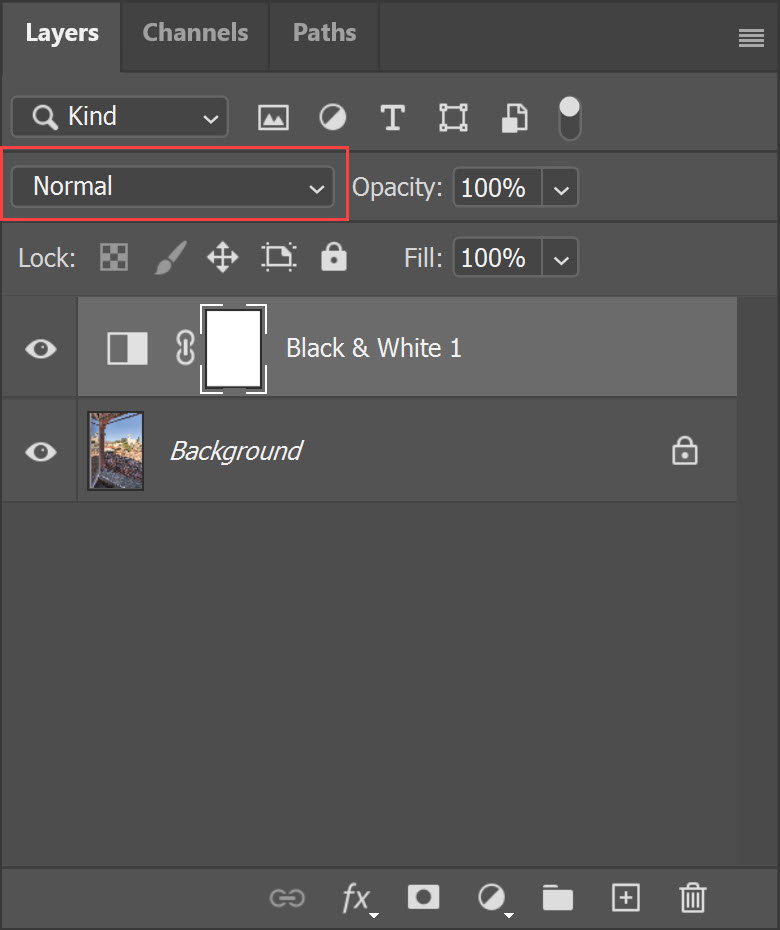
- This adds a new black and white adjustment layer in the Layers panel. The Properties dialogue should also open. If it doesn’t open, you can open it by selecting Properties from the Window menu. For now, you can ignore the Properties panel. Using the Properties panel to fine-tune the contrast in your colour image will be described later.

Now you have added the black and white adjustment layer, you will have a black and white image. This black and white image needs to be converted back to a colour image with the addition of the extra contrast added by the new black and white adjustment layer.
Bring back the colour.
This is a quick and simple adjustment.
- In the Layers panel, select the black and white adjustment layer by clicking on it once. It will highlight;
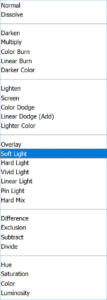
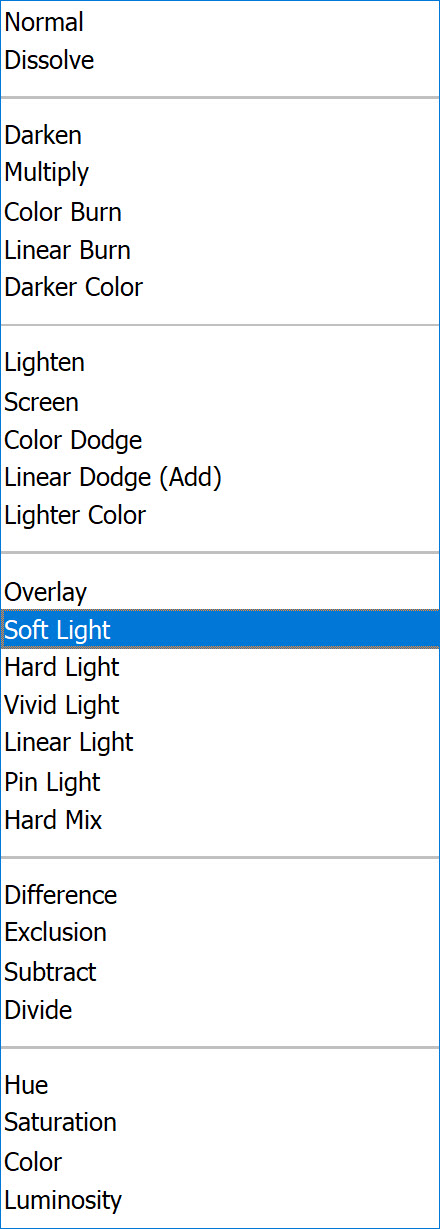
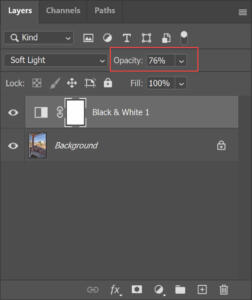
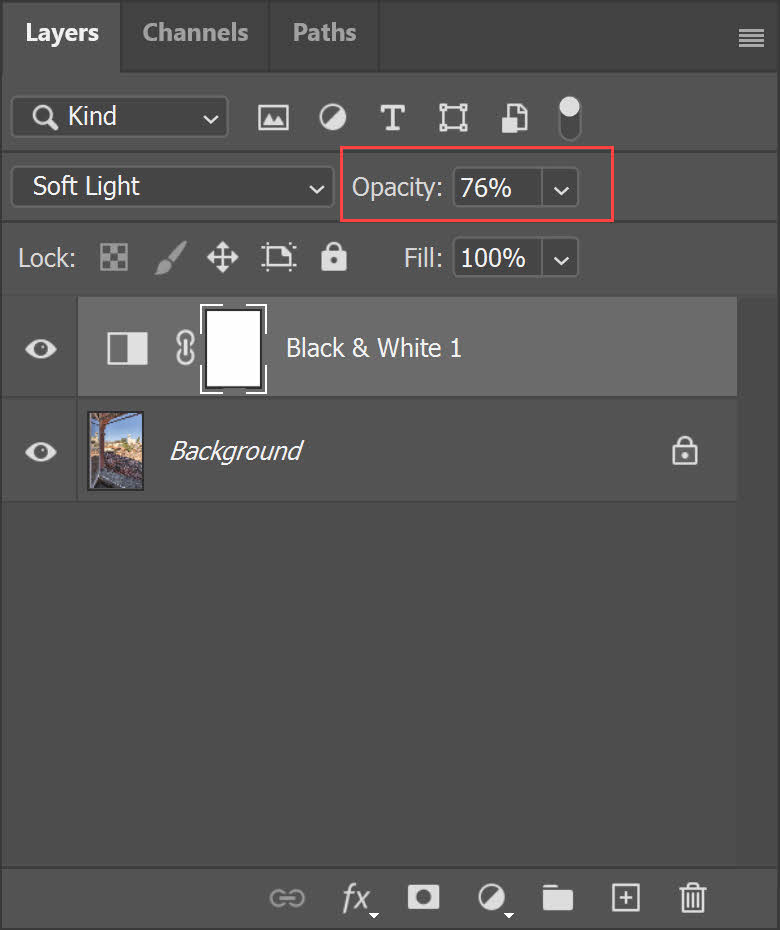
- At the top of the Layers panel, you will see a drop-down box with the word Normal in it. This is the layer’s blending mode. Clicking on the small downward arrow to the right of the word Normal will reveal all the blend modes. Click on Soft Light;
You will see the colour return to the image and the increase in contrast. If the contrast adjustment is too severe, you can easily dial it back.
Reducing the severity of the black and white adjustment layer
More often than not, this technique will produce an image that has too much contrast in it. To reduce the severity of the effect: –
- In the Layers panel, select the black and white adjustment layer by clicking on it once;
- Again, look at the top of the Layers panel. To the right of the blend modes dialogue that you adjusted in the last step, you will see the Opacity adjustment. Click on the small downward pointing arrow and drag the slider to the left to reduce the opacity of the black and white adjustment layer. This will reduce the effect of the black and white adjustment layer.
Adjusting the sliders in the Properties panel
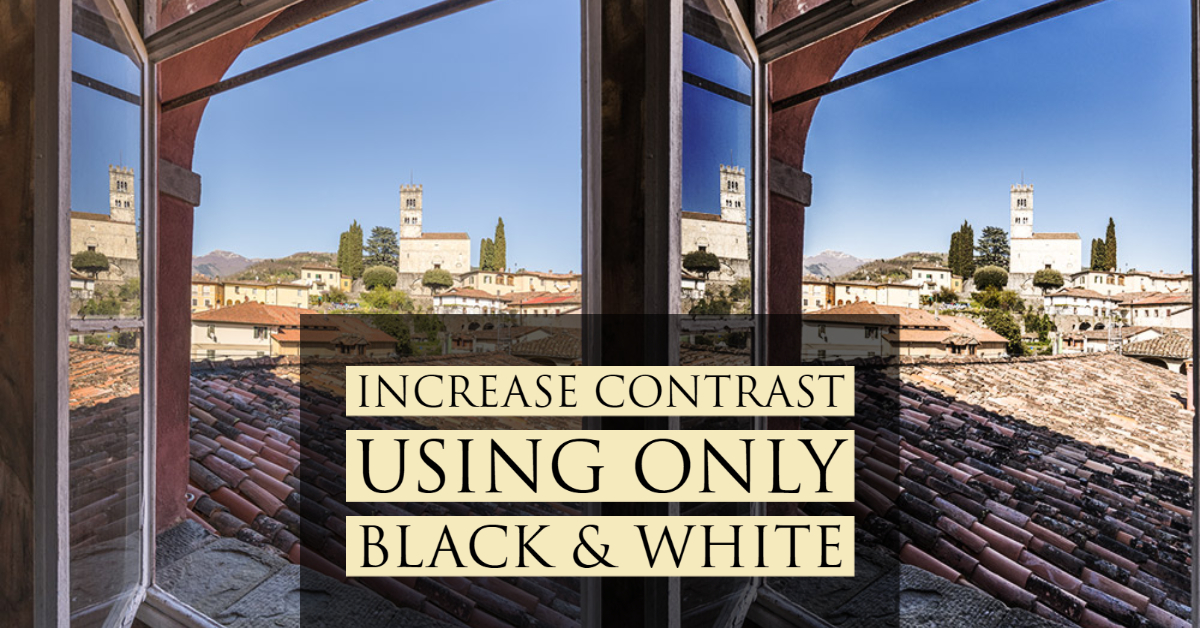
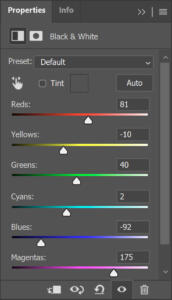
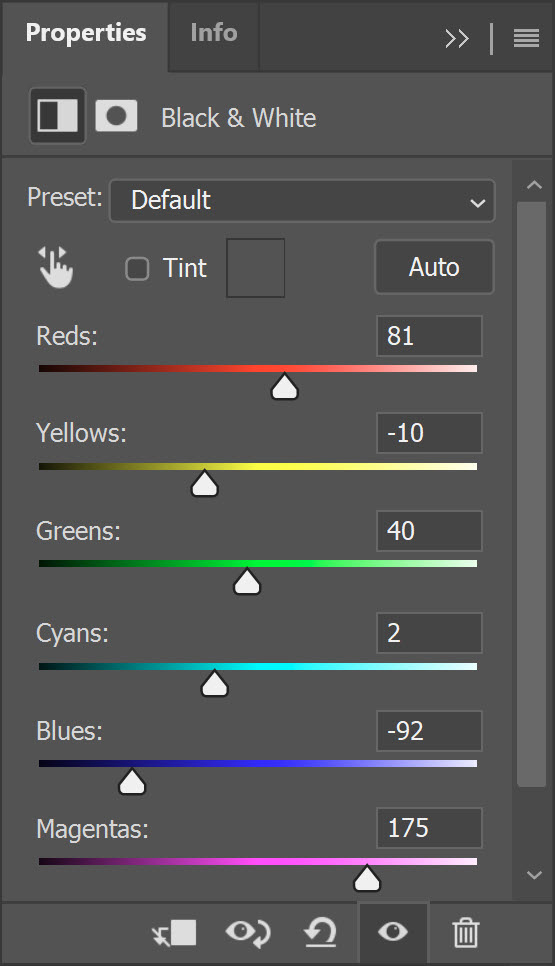
The Properties panel for the black and white adjustment layer has six sliders that adjust the brightness of the corresponding colours in the image. In the picture I have chosen, I am going to use the sliders to darken the sky and lighten the roof tiles. I can also reduce the brightness of the marble face of the cathedral.
- Drag the Blues and Cyans sliders to the left. This darkens the sky;
- Drag the Yellows slider to the left also. This reduces the brightness of the marble face of the cathedral;
- Lastly, drag the red and magenta sliders to the right to lighten the roof tiles.
The Properties panel provides a lot of extra control over the selective contrast in your image. I find that taking each slider in turn and sliding it fully from left to right while observing the effect on the image, is the best way to determine which adjustments to make.

Conclusion
Using a black and white adjustment layer is not an intuitive option for increasing contrast in a colour image. But it is highly effective, and it is a technique I would encourage you to try. Also, try selecting the Overlay and Hard Light blend modes as an alternative. These two blend modes have a more pronounced effect, which can be useful for increasing the appearance of texture in an image. Don’t forget, if the contrast is too strong, you can use the Opacity setting to reduce the intensity.


Thanks for the information you shared I appreciate your efforts and taking the time and sharing this content.