
Being able to add a watermark with Lightroom is a great way to add branding to your images. A watermark will make it more difficult for someone to steal your online images. A watermark won’t make it impossible to steal an image, but it does add a layer of complication.
This article will show you how to add a watermark with Lightroom to your exported images. Lightroom Classic CC (or any previous versions) makes it very easy to automate the process and add a watermark to one or thousands of images at once. You have the choice of adding a text-based watermark or a graphic watermark. In this article, I will show you how to add a watermark that is text-based and a watermark that is graphic.
Create a watermark with Lightroom
The best way to approach how to add a watermark with Lightroom is first to create a watermark. This watermark will then be applied during the export process. You can create a watermark during the export process, but it is easier to create a watermark beforehand.
To create a watermark (text-based):
- From any module inside Lightroom, choose Edit > Edit Watermarks (Windows) or Lightroom Classic CC > Edit Watermarks (Mac OS);
- In the Watermark Editor window that opens, choose whether you want to create a text or graphic watermark by clicking one of the radio switches in the top right-hand corner of the Watermark Editor window. In this first example, we will create a text watermark;
- Type the text you want in the text box below the image preview;
- Pick the font style that you want. In this example, I have chosen Papyrus as the font type. The Align option refers to the alignment of the text in the text bounding box. It does not refer to the alignment of the text on the image – that comes later. Decide if you want a shadow or not;
- Under Watermark Effects, choose the opacity, size and position of the text-based watermark. In this example, I have reduced the opacity to 40% and chosen Proportional for the size option. You can drag the sliders or type an exact value into the box to the right of any slider. I typed 15 as the proportional size. Proportional will change the size of the watermark to coincide with the scale of the exported image. Click on Fit and Fill to see what results they give;
- The Inset option repositions the watermark on the image. As you move the sliders, you will see the position change. Adjust to taste;
- The Anchor option will move the watermark to one of the anchor locations on the image. The Inset option repositions around these anchor points;
- Save your watermark by clicking Save or by choosing Save Current Settings As New Preset in the top-left of the Watermark Editor window.
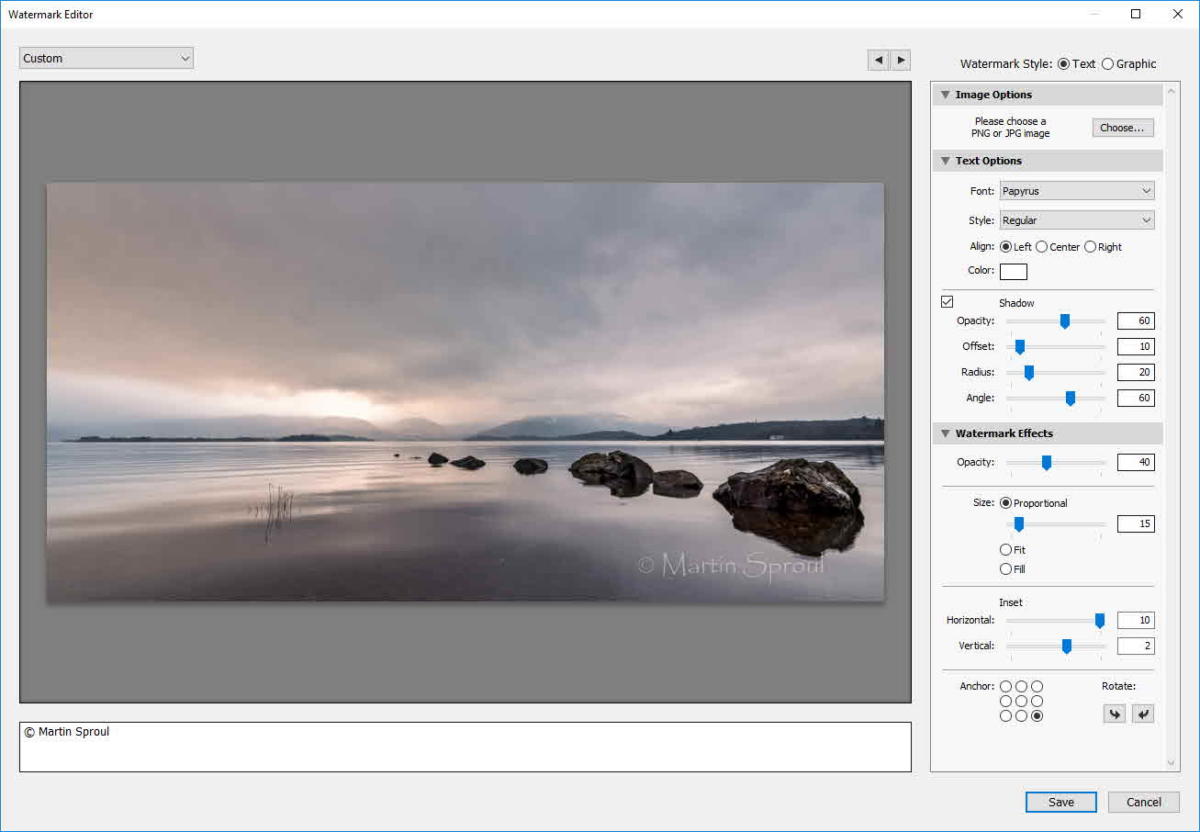
Watermark Dialogue Box
To create a watermark (graphic):
- From any module inside Lightroom, choose Edit > Edit Watermarks (Windows) or Lightroom Classic CC > Edit Watermarks (Mac OS);
- In the Watermark Editor window that opens, choose whether you want to create a text or graphic watermark. In this second example, we will create a graphic watermark;
- Clicking on the Graphic option launches your Explorer (Windows) or Finder (Mac OS). Choose your image file. I would recommend using a PNG image file because PNG files have transparency. The transparency ensures you do not have a white box around your graphic;
- Use the same settings as above to position and style your graphic watermark;
- Save your watermark by clicking Save or by choosing Save Current Settings As New Preset in the top-left of the Watermark Editor window.
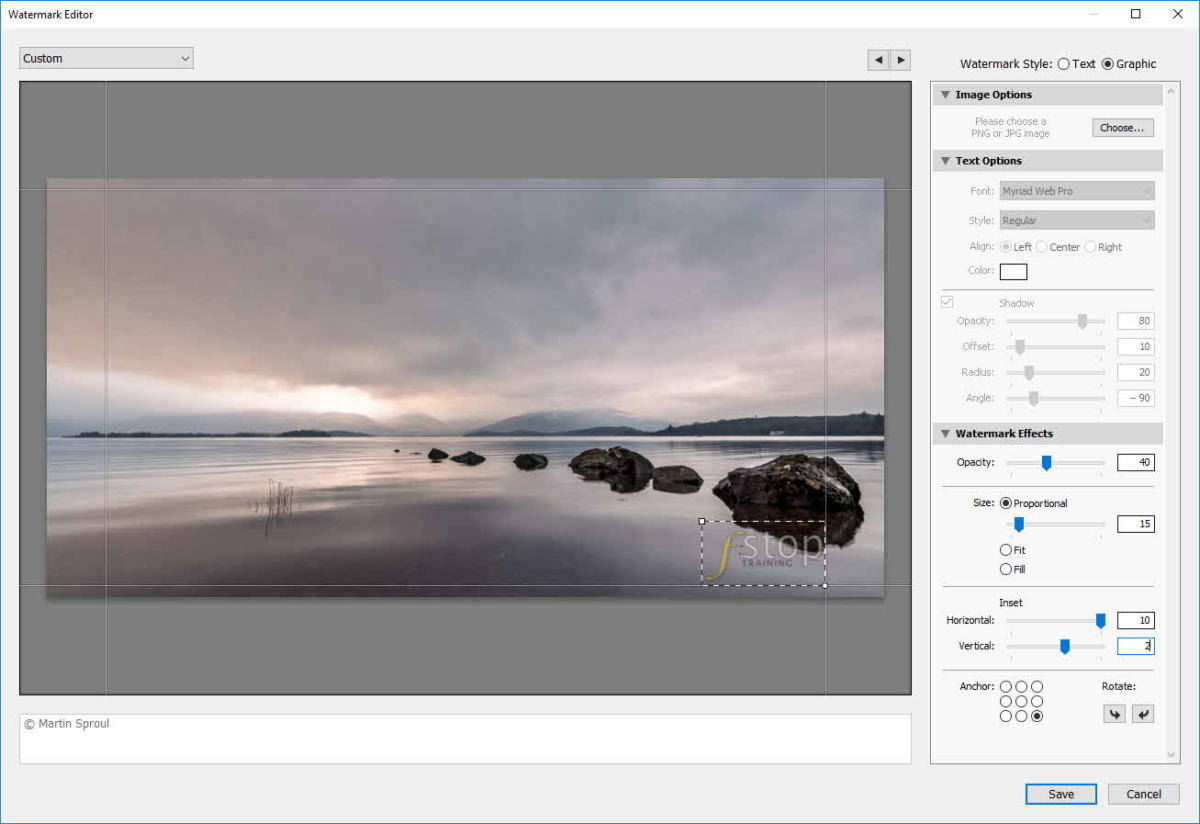
Watermark Dialogue Box – graphics
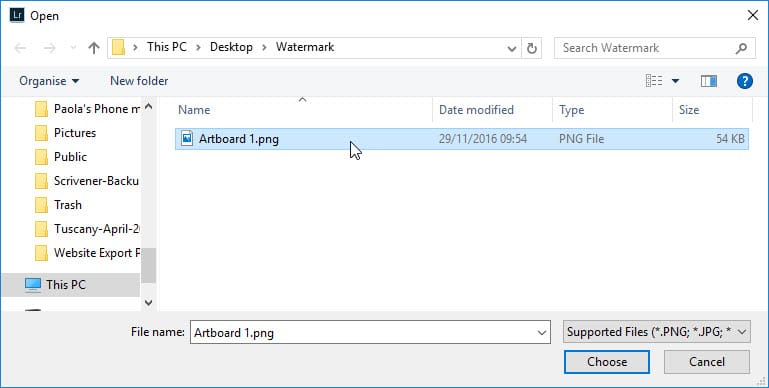
Choose your image for the watermark
Manage your watermarks
One of the benefits of using Lightroom to add watermarks to your images is the ability to save a collection of watermarks. Each watermark can be used for separate purposes and only needs to be created once. As you export a selection of images, you choose which watermark to apply from a drop-down list. You can also add, delete and make changes to watermarks with Lightroom.
To save a watermark:
- Once you have created your text or graphic watermark, click Save or choose Save Current Settings As New Preset in the top-left of the Watermark Editor window.
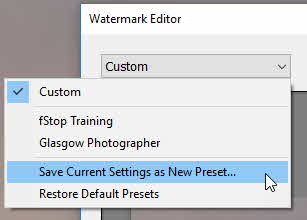
Save Watermark
To edit a saved watermark:
- To edit a saved watermark, choose it from the drop-down list in the top-left of the Watermark Editor window;
- Make your alterations to the selected watermark;
- Choose the Update Preset [name] from the drop-down list in the top-left of the Watermark Editor window.
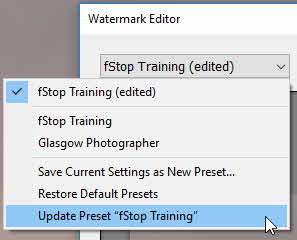
Update a saved watermark
To rename a saved watermark:
- To rename a saved watermark, choose it from the drop-down list in the top-left of the Watermark Editor window;
- Now click on the drop-down list again and choose Rename Preset [name] from the list;
- Type in the new name for the watermark.
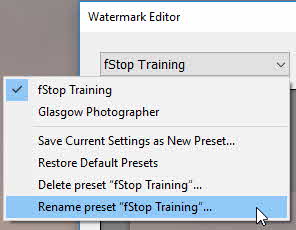
Rename a saved watermark
To delete a saved watermark:
- To delete a saved watermark, choose it from the drop-down list in the top-left of the Watermark Editor window;
- Now click on the drop-down list again and choose Delete Preset [name] from the list.
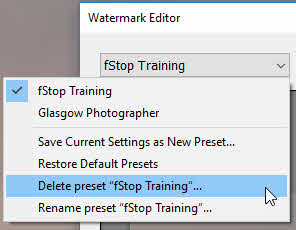
Delete a saved watermark
Add a watermark with Lightroom to your exported images.
Finally, we come to the good bit. This section will explain how to add a watermark to your exported images. You can add a watermark to all your exported images in one go. Using this technique in Lightroom is fast and consistent.
- Select all the images you want to export with a watermark;
- Right-click any of the selected images and choose Export > Export. Or, from the Library module, click on the Export button near the bottom-left of the Library module screen;
- In the Export dialogue, scroll down to Watermarking and select one of the saved watermarks from the drop-down list;
- Change all the other Export settings to suit. See Export Photos from Lightroom Classic CC for more information on exporting images from Lightroom CC;
- Click on Export. All your selected images will be exported with the chosen watermark.
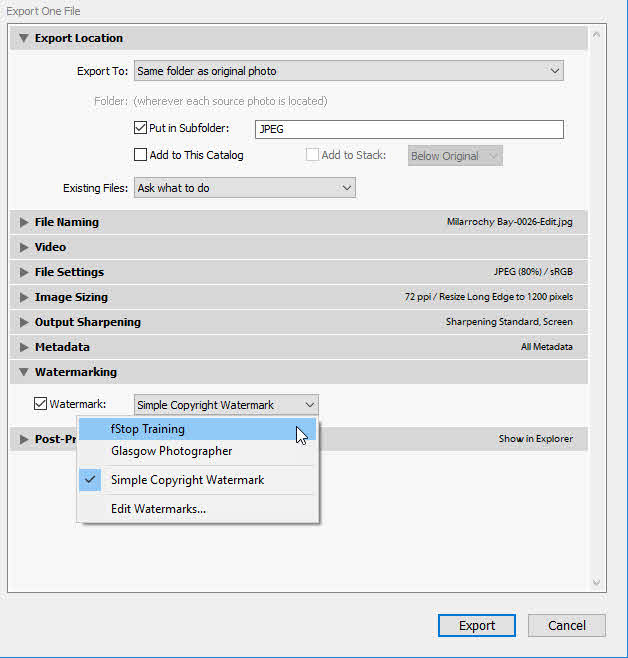
Export Dialogue Box
Conclusion
Having the ability to add a watermark with Lightroom to all your images is one of its most useful features. It is a snap to add a saved watermark to thousands of images at once. If you frequently upload images to social media or share images for proofing, being able to add a watermark on export will save you hours and adds consistency to your work.
Please let me know your thoughts and ask questions below. Thank you.


Leave A Comment