
I often get asked what a Smart Object is in Photoshop and what they are used for? I’ll try and answer that question in an easy to understand way and I’ll show one of the advantages of a Smart Object in this article.
What is a Smart Object?
A Smart Object is a Photoshop layer that contains all the same image information of a normal layer but a Smart Object layer will allow you to perform non-destructive edits. For example, you can resize the image as often as you want without causing any degradation. I demonstrate this later in the article.
Also, Smart Objects allow you to apply non-destructive filters to a Smart Object and I will demonstrate this in the next article. Here is a list of advantages of Smart Objects:
- Perform non-destructive transformations to an image. You can resize, rotate, skew, distort perspective etc without losing any of the original image quality;
- Apply non-destructive filters;
- You can embed vector images from Illustrator, and similar applications, without needing to change to pixels first;
- If you have duplicates of an image, you can edit one and have all the duplicates update automatically;
- Add separate masks to filter adjustments.
You cannot directly edit the pixels of a Smart Object layer. For example, you can’t paint, perform dodging and burning or cloning directly onto a Smart Object. This is regarded as a disadvantage to a lot of photographers and becomes a reason never to use Smart Objects. However, it is possible to directly edit a Smart Object simply by double-clicking on the layer. This opens the Smart Object in its own window where you can perform edits. Alternatively, you can place a copy of the Smart Object on a layer above. Both techniques aid a non-destructive workflow.
Resizing Smart Objects
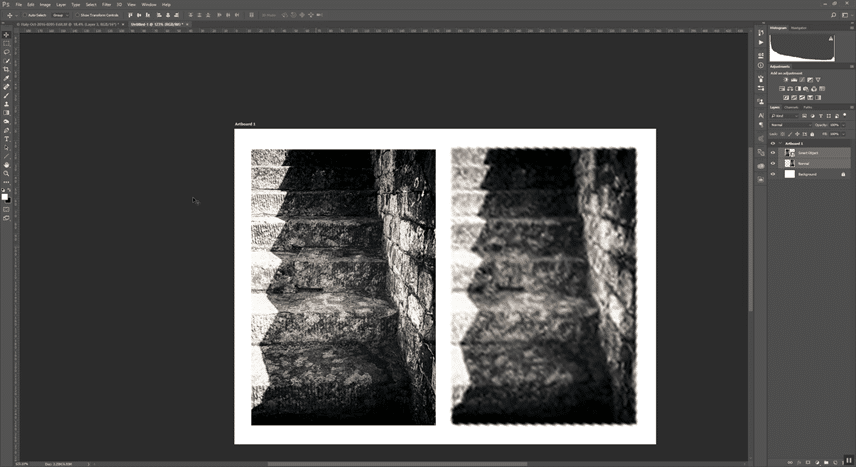
Let’s look at one of the big advantages of Smart Objects over normal rasterized layers. A Smart Object can be resized as often as you wish without it losing quality. With a normal rasterized layer, as you resize the image its quality is degraded. The example below demonstrates this better.
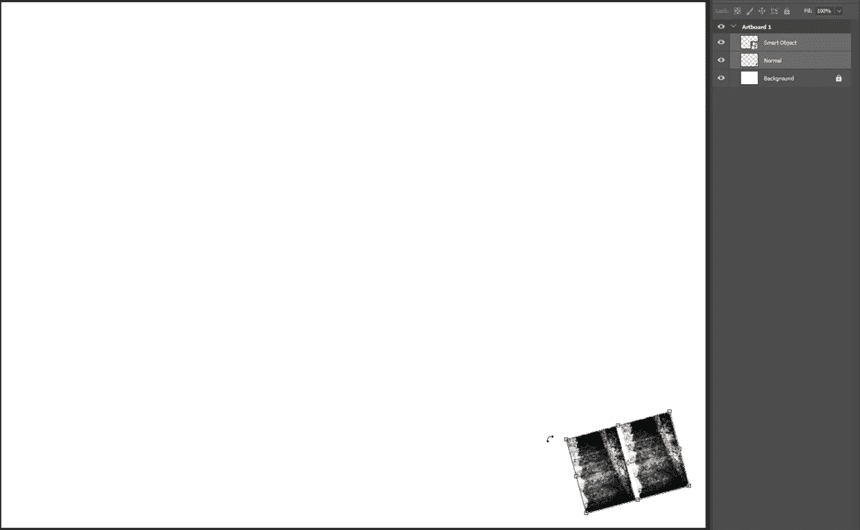
In the above image, you can see one document with two identical layers. I have converted the top layer to a Smart Object. You can do this in a couple of ways:
- Right-click on the layer and select Convert to Smart Object;
- From the Layer menu, select Smart Objects > Convert to Smart Object

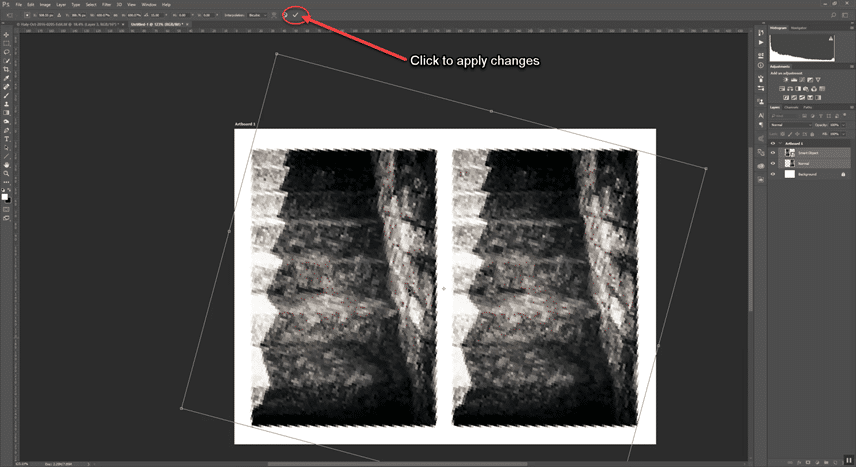
Now I’ll select both layers and reduce their size and rotate them by using Free Transform (Ctrl+T or cmd+T on a Mac). I’ll commit to these changes by clicking on the tick icon in the toolbar along the top of the screen, or by pressing the Enter (Return) key.
Next, I’ll change my mind and rotate them both back to their original position and resize them to their original size. Again, I’ll commit to the changes.
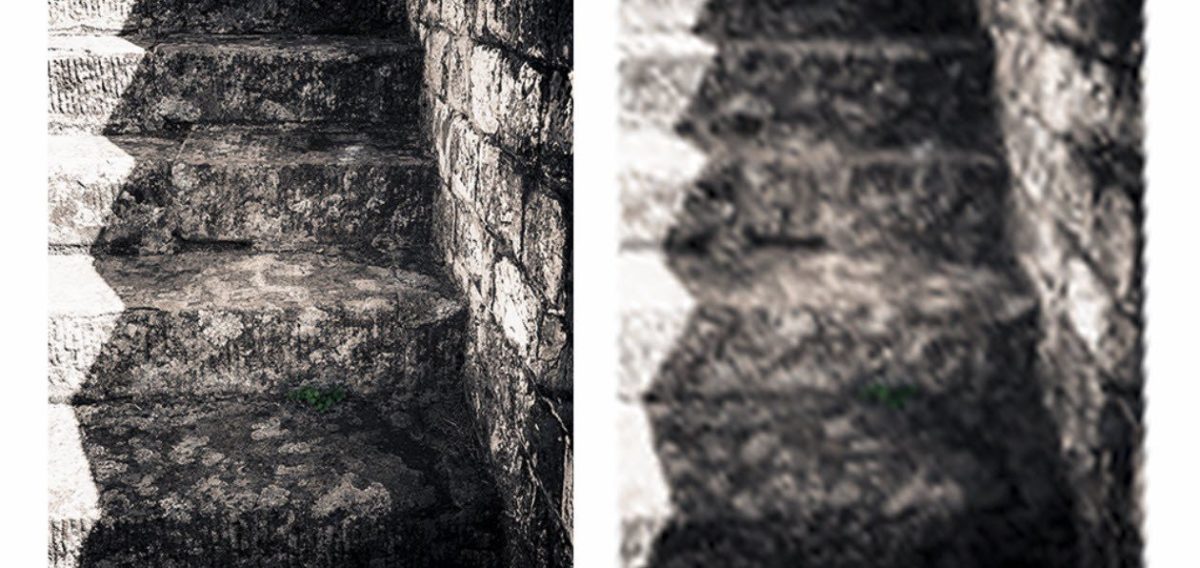
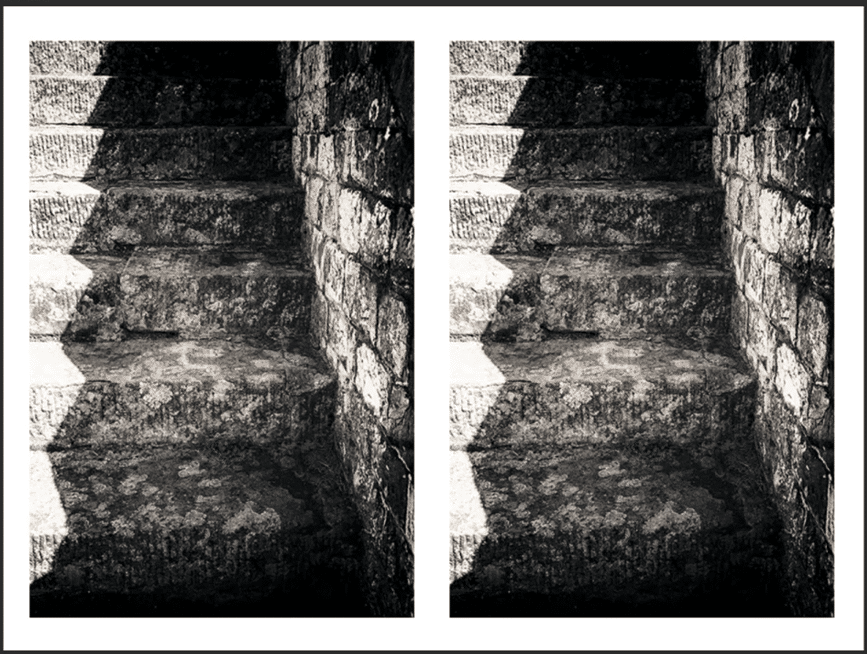
Once the changes are applied, you can see very clearly that the Smart Object layer has not lost any of its detail or quality but the normal layer is destroyed.
Conclusion
This is deliberately a non-complicated demonstration of one of the advantages of Smart Objects over normal layers. It is simply an introduction and I encourage you to try the technique for yourself on any image.
If you believe that you may need to resize an image on a layer, then my advice is to always change that layer to a Smart Object before you resize it. This way, you can change your mind and make as many alterations as you wish, safe in the knowledge that the quality will never be degraded by the resizing.


I was looking for a blog which can give complete information of graphic designing Course and your informative blog makes it complete. I hope you keep writing and updating us.
As the other comment said. Your content is well documented and it communicates well. You should totally use that skill to your advantage and continue to write (if you are already, that’s great, This is my first page to read)
***** out of *****
-5 stars
This is an excellent explanation of Smart Objects in Photoshop! The detailed breakdown of their advantages, especially non-destructive editing and resizing, is so helpful.
The step-by-step demonstration makes it easy to follow, even for beginners. It’s great advice to convert layers to Smart Objects when resizing to preserve quality. A must-read for anyone working with Photoshop