
People have been photographing waterfalls ever since the invention of the camera and it is no less popular today in the digital era. While the technology has changed over the years, the challenge of photographing waterfalls correctly hasn’t changed. But why is photographing waterfalls so challenging?
There are three reasons that make photographing waterfalls challenging to any photographer:
- Location;
- Lighting;
- Movement.
Location
Most waterfalls will be nestled in deep gorges that are flanked by steep embankments. This can often make it treacherous to clamber down to a position that allows you to take a square on photograph of the waterfall, or in a few locations, it can make it impossible. The ease or difficulty of access can often be what makes a photograph of a waterfall all the more appealing. If the access is so difficult as to preclude the average photographer, then those who do venture into position are assured a photograph that will be almost unique. This unique image could then become very desirable and therefore profitable for the photographer.
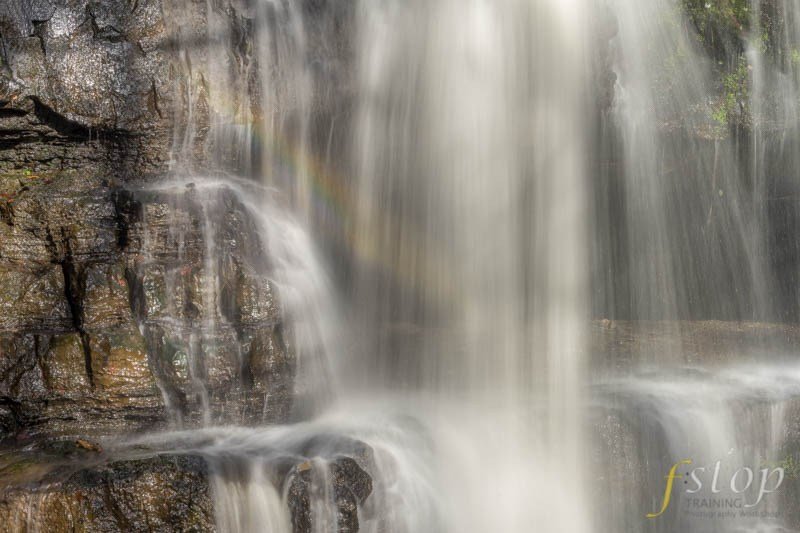
Very occasionally, it is possible to get in behind the waterfall and produce an image that is different and demands a second look from the viewer.
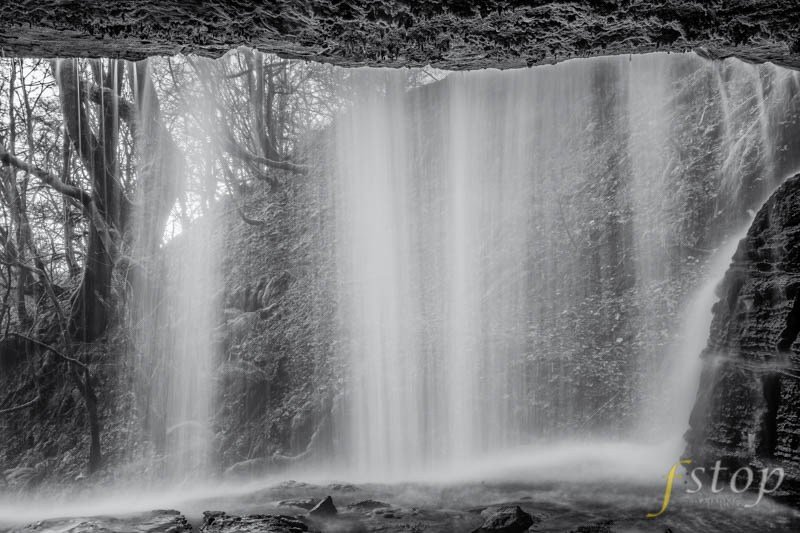
In Behind The Waterfall
Lighting
The way waterfalls are lit has a lot to do with their location. Since many are hidden away in steep gorges, they are prone to being cloaked in shade and are often surrounded by large mature trees. This can result in a photograph that is dull and flat. However, many waterfalls will be lit by sunlight at some point in the day and at certain times of the year.
Additionally, if the lighting is behind you while you are photographing the waterfall, the spray will often produce a rainbow. This effect is easier to achieve if you are photographing the waterfall at an angle rather that square on. With this fact in mind, you may not need, or want, to scramble down a steep embankment to gain the full 90-degree viewpoint.
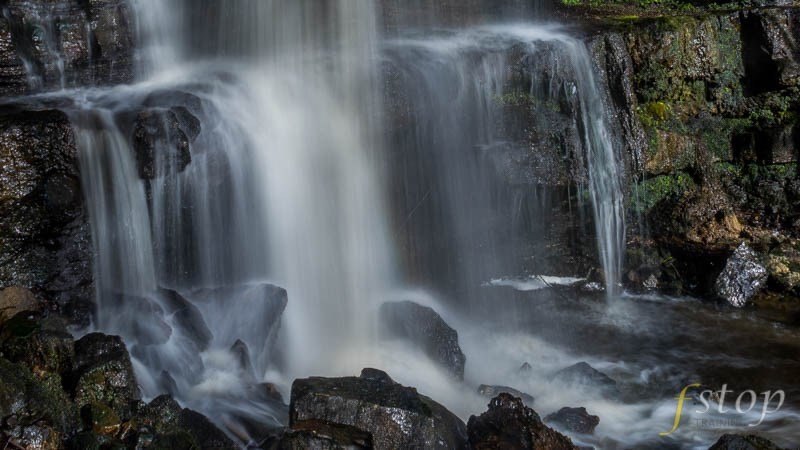
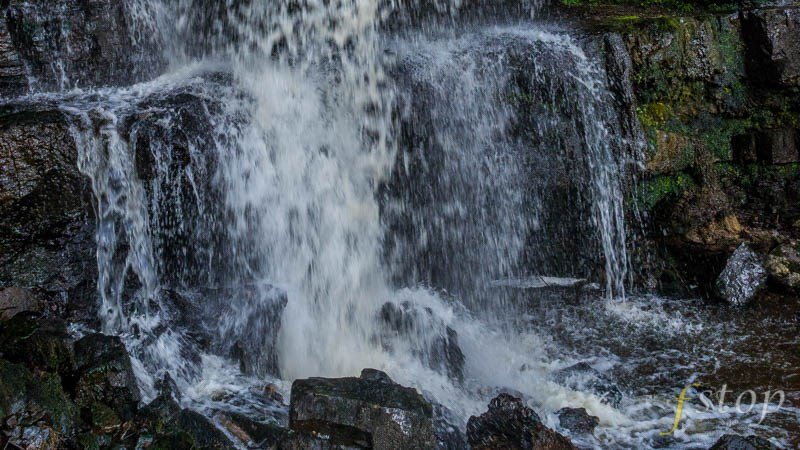
Regardless of how the waterfall is lit, the final image is usually more appealing if the water is blurred rather than frozen in motion. This brings us on to the last challenge associated with photographing waterfalls, and it is the challenge I will address in full detail; movement.
Movement
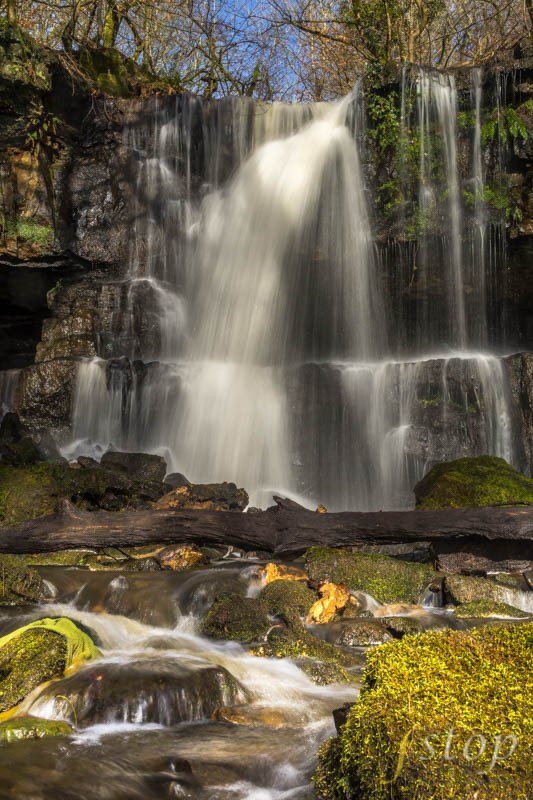
Often Difficult To Access Locations
Whenever you are presented with photographing movement, you will have two basic choices: freeze the movement or allow it to blur. More often than not, photographing waterfalls will call for the later option. The reason for this blurred option is purely down to aesthetics. A photograph of a waterfall with blurred water appears more serine to the viewer that a photograph where the water droplets have been frozen and isolated. The examples below should illustrate my point. But, this need not always be your only option when it comes to photographing waterfalls.
Sometimes it may be more dramatic to freeze each individual drop of water to emphasis the power of the waterfall. Capturing the droplets bursting over rocks and the individual droplets contained in the mist may lend itself to being a more powerful image.
Whichever look you decide upon, you are going to have to take control of your camera yourself. Both looks demand dramatically different shutter speeds.
To achieve the blurred effect you will need to set up your camera in such a way that you will require a slow shutter speed. Having a slow shutter speed will allow the water to fall for at least a second or more while the image is being captured. Slow shutter speeds are not always easy during the middle of the day but it can be done. You will need a tripod or something solid to place your camera on while the photographs are being taken.
First, switch your camera onto Manual. Now put your camera’s ISO setting as low as it can go (ISO 100 or less) and dial in the smallest aperture setting for the lens. Remember, the smallest aperture is represented by the biggest ƒ/stop number – so ƒ/22 is a smaller aperture than ƒ/8. Now with those settings in place, your camera will need a long exposure to allow enough light onto its sensor to produce an image with the correct exposure. Adjust your shutter setting until your camera’s exposure meter indicates the correct exposure. Note, you will need to consult your camera’s manual to know how this is indicated since each manufacturer has a slightly different method on presenting this information.
You are aiming to achieve a shutter speed of a ½ second or longer. If you cannot achieve a long enough shutter speed, you could try placing a polarising filter or a neutral density filter in front of the lens. A polarising filter is ideal because it will cut out glare as well as slowing your shutter speed by an extra 3 stops.
Conclusion
Experiment and take several shots from the same place at the same time. Try some shots where the waterfall is blurred and try some shots where its movement is frozen in time. Decide which you prefer!


Leave A Comment