
Knowing how to dodge and burn in Photoshop is one of those skills that will make your images stand out in the crowd. Photoshop has always had tools for dodging and burning, but they were never perfect. They were so bad that you have probably never used them. If you have used the dodge and burn tools of old, you’ll know how bad they were. Most photographers would have told anyone to keep well away from the dodge and burn tools. The advice was justified and correct, but it’s no longer accurate. Let me explain and demonstrate.
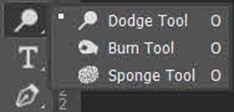
Right-click or click and hold to reveal Dodge and Burn tools
What do the Dodge and Burn tools do in Photoshop?
Simply put, the Dodge and Burn tools will darken (burn) and lighten (dodge) areas of an image. Both the Dodge and Burn tools are brush-based and can be brushed onto any part of an image to darken and lighten specific areas. The process is based on the traditional darkroom technique where the photographer would either block light from reaching the photo paper (dodging) or increase the amount of light reaching areas of the photo paper (burning).
The more you brush over an area with the Dodge and Burn tools in Photoshop, the more pronounced the effect.
The legacy Dodge and Burn tools
In previous versions of Photoshop, the brush-based tools of dodge and burn were useless. The tools promised to lighten (dodge) and darken (burn) targeted tones within the image, but their results were ugly. You would brush the dodge or the burn tool over an area of your image, and it would lighten or darken the pixels. You are also able to tell Photoshop to only pay attention to the highlights, midtones or shadows as you brushed the effect. And, because these tools are brush-based, you also have control over the size, shape, softness and opacity of the brush. This all sounds great. The problem was, it produced ugly results. Let me show you.
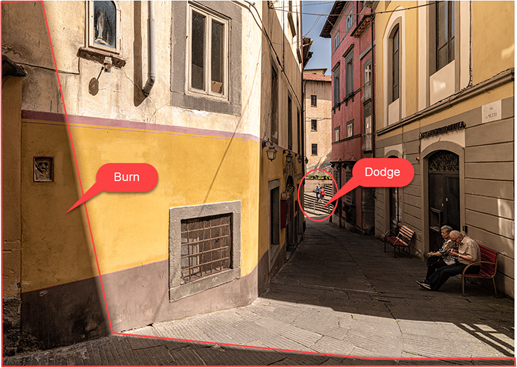
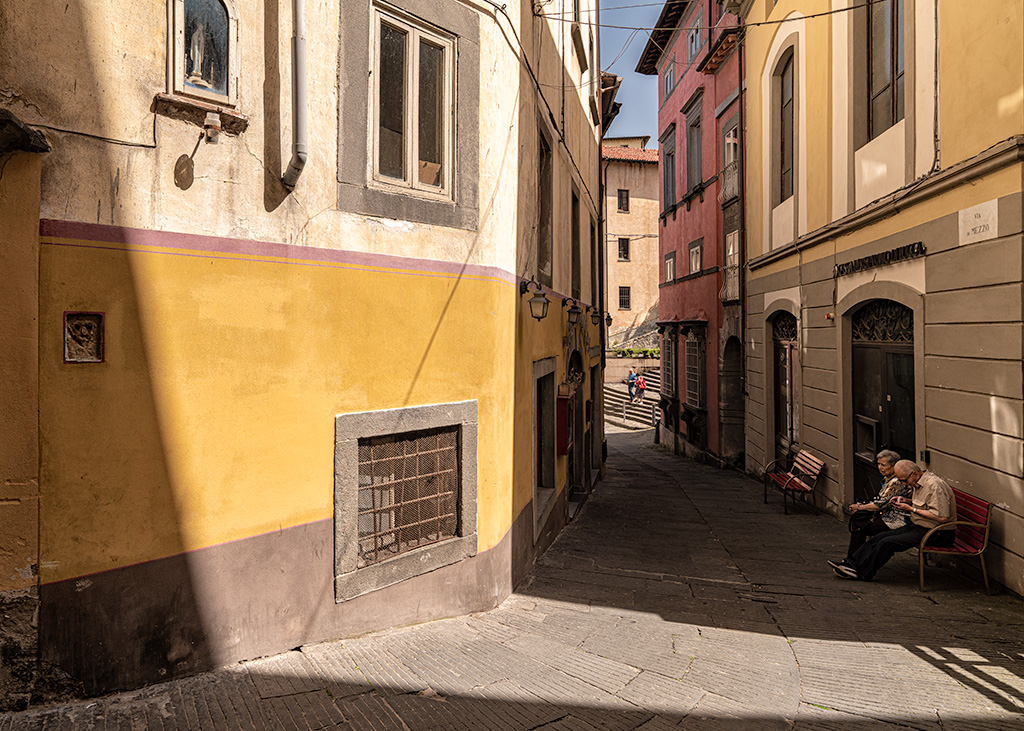
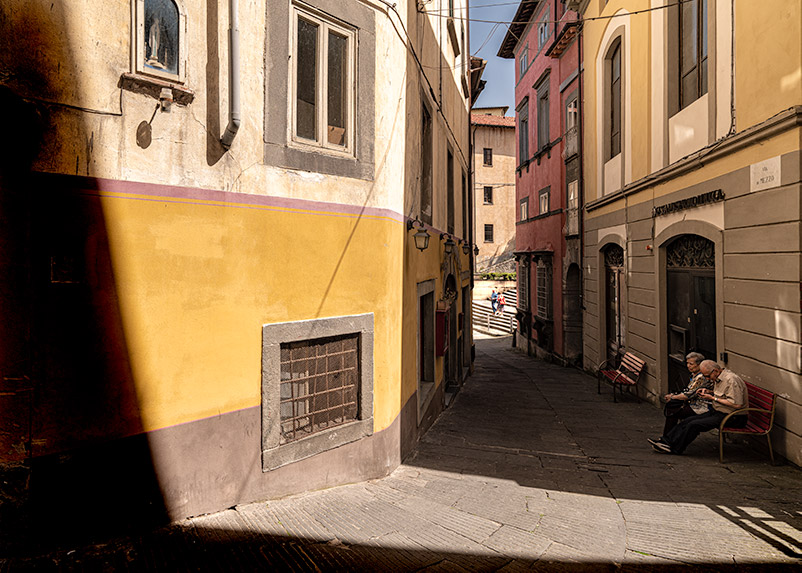
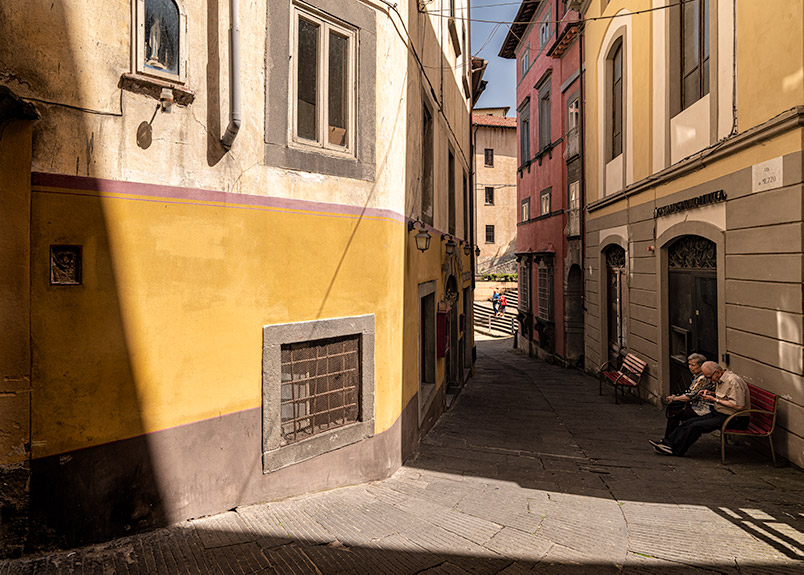
These areas will be dodged and burned.
As you brushed with the legacy Dodge and Burn tools, the effect would increase and destroy the tonal values of the pixels. This tonal destruction led to completely burned-out highlights and completely black shadows. The effect was very difficult to control. This lack of control and pixel destruction spawned many alternative techniques for dodging and burning. These alternative techniques were tricky to learn and could be convoluted. The new Dodge and Burn tools could negate these tricky and convoluted dodging and burning techniques.
Dodge and Burn test conditions
Using the image above, I will first explain and demonstrate the effect of the legacy Dodge and Burn tools on the selected areas of the picture. Then I will explain and show the new Dodge and Burn tools on the same regions of the same image. The Dodge and Burn tools settings will be the same for both tests. The tools settings will be:
| Tool | Range | Exposure | |
| Dodge Tool | Highlights | 50% | |
| Burn Tool | Shadows | 50% | |
Having an exposure setting of 50% is not my preferred way of working. I consider 50% to be too high. I always recommend that you use an Exposure setting of between 10 and 20% and build up the effect with multiple brush strokes. But, using an exposure setting of 50% for this test will allow me to quickly demonstrate the difference between the legacy and new Dodge and Burn tools.
Legacy Dodge and Burn tools in use
![]()
The shadow on the left of the image was painted with the Range set to Shadows. The highlights in the centre of the image were painted but with the Range set to Highlights. As you can see, in the before and after image below, the results are not good.
Note
To gain access to the legacy form of the Dodge and Burn tools, I first unchecked Protect Tones in the options bar. The Protect Tones option is checked by default.
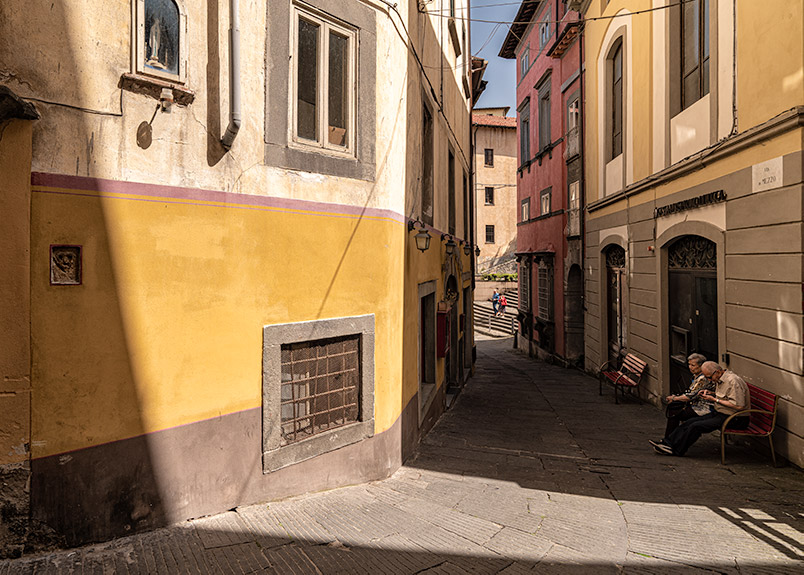
New Dodge and Burn tools in use
Now let’s repeat the process but this time I have checked Protect Tones. The new Dodge and Burn tools have been completely reworked by Adobe. On the surface, they look the same, but underneath the code has been completely reworked.
Protect Tones selected
Range Setting with Dodge and Burn tools
The range setting will ensure that the Dodge and Burn tools will only target a specific range of luminance values within the image. For example, if you are using the Burn tool and you have the Range set to Shadows, you will only affect the shadow areas as you brush. The range setting allows you to brush freely without being concerned the effect will spill into neighbouring areas of luminance.
- Shadows – Only the dark areas will be affected;
- Midtones – Only the middle ranges of luminance will be affected;
- Highlights – Only the lighter areas of the image will be affected.
Conclusion
The new dodge and burn tools in Photoshop are worthwhile revisiting and using. They have been completely reworked and behave in a predictable and aesthetically pleasing way. It is difficult to describe and show the difference in a text-based tutorial, so I recommend you to try the new Dodge and Burn tools in Photoshop.


Leave A Comment