

The Orton effect is a method of post processing that gives a dreamy soft focus look to a photograph. The Orton effect is named after its creator, Michael Orton. He originally created the effect by stacking two separate images on top of each other; one in sharp focus and the other was shot slightly out of focus. Originally, Micheal Orton would have used slides to perform the physical stacking but today we can produce the same effect digitally.
Let me show how with this quick tutorial. Also, I have included a link at the end of the post that will allow you to download my free action.
The Orton Effect in Photoshop
We are going to use Adobe Photoshop to create an Orton effect. There are a few steps involved but they are quite straight forward.
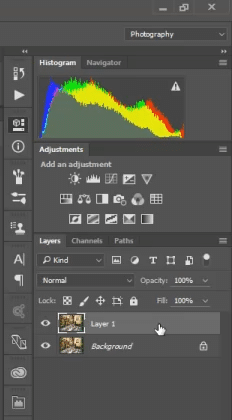
Step 1: Duplicate the background layer by pressing Ctrl+j or cmd+j on a Mac.
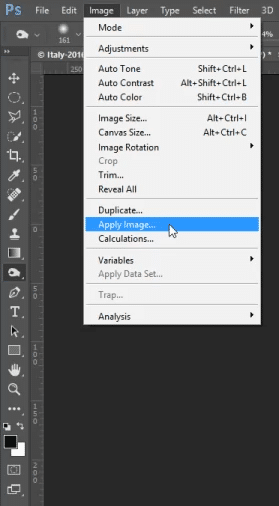
Step 2: With this new layer selected, go to the Image menu and select Apply Image… from the list. Make sure all of your settings are the same as shown here, then click Ok. Your image should darken.

Step 3: With this new layer still selected, change the layer blend mode to Screen and you’ll see your image return to its original brightness level. Now we’re going to apply the blurred out of focus effect.

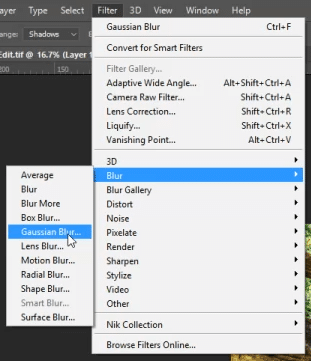
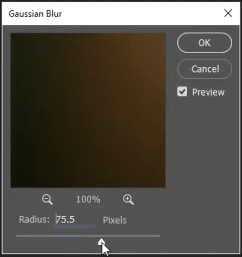
Step 4: From the Filter menu, hover your mouse over Blur and select Gaussian Blur… from the list of choices. Use the slider to apply a medium amount of blur to the image. The exact setting will differ depending upon the resolution of the file. I’ve set a value of roughly 75 pixels for my image. Now, click OK to apply the blur.
That’s basically it. The Orton effect has been applied to the image. You can see the softness and slight overexposure of the highlights. If you wish, you can change the Opacity of the layer to moderate the effect.
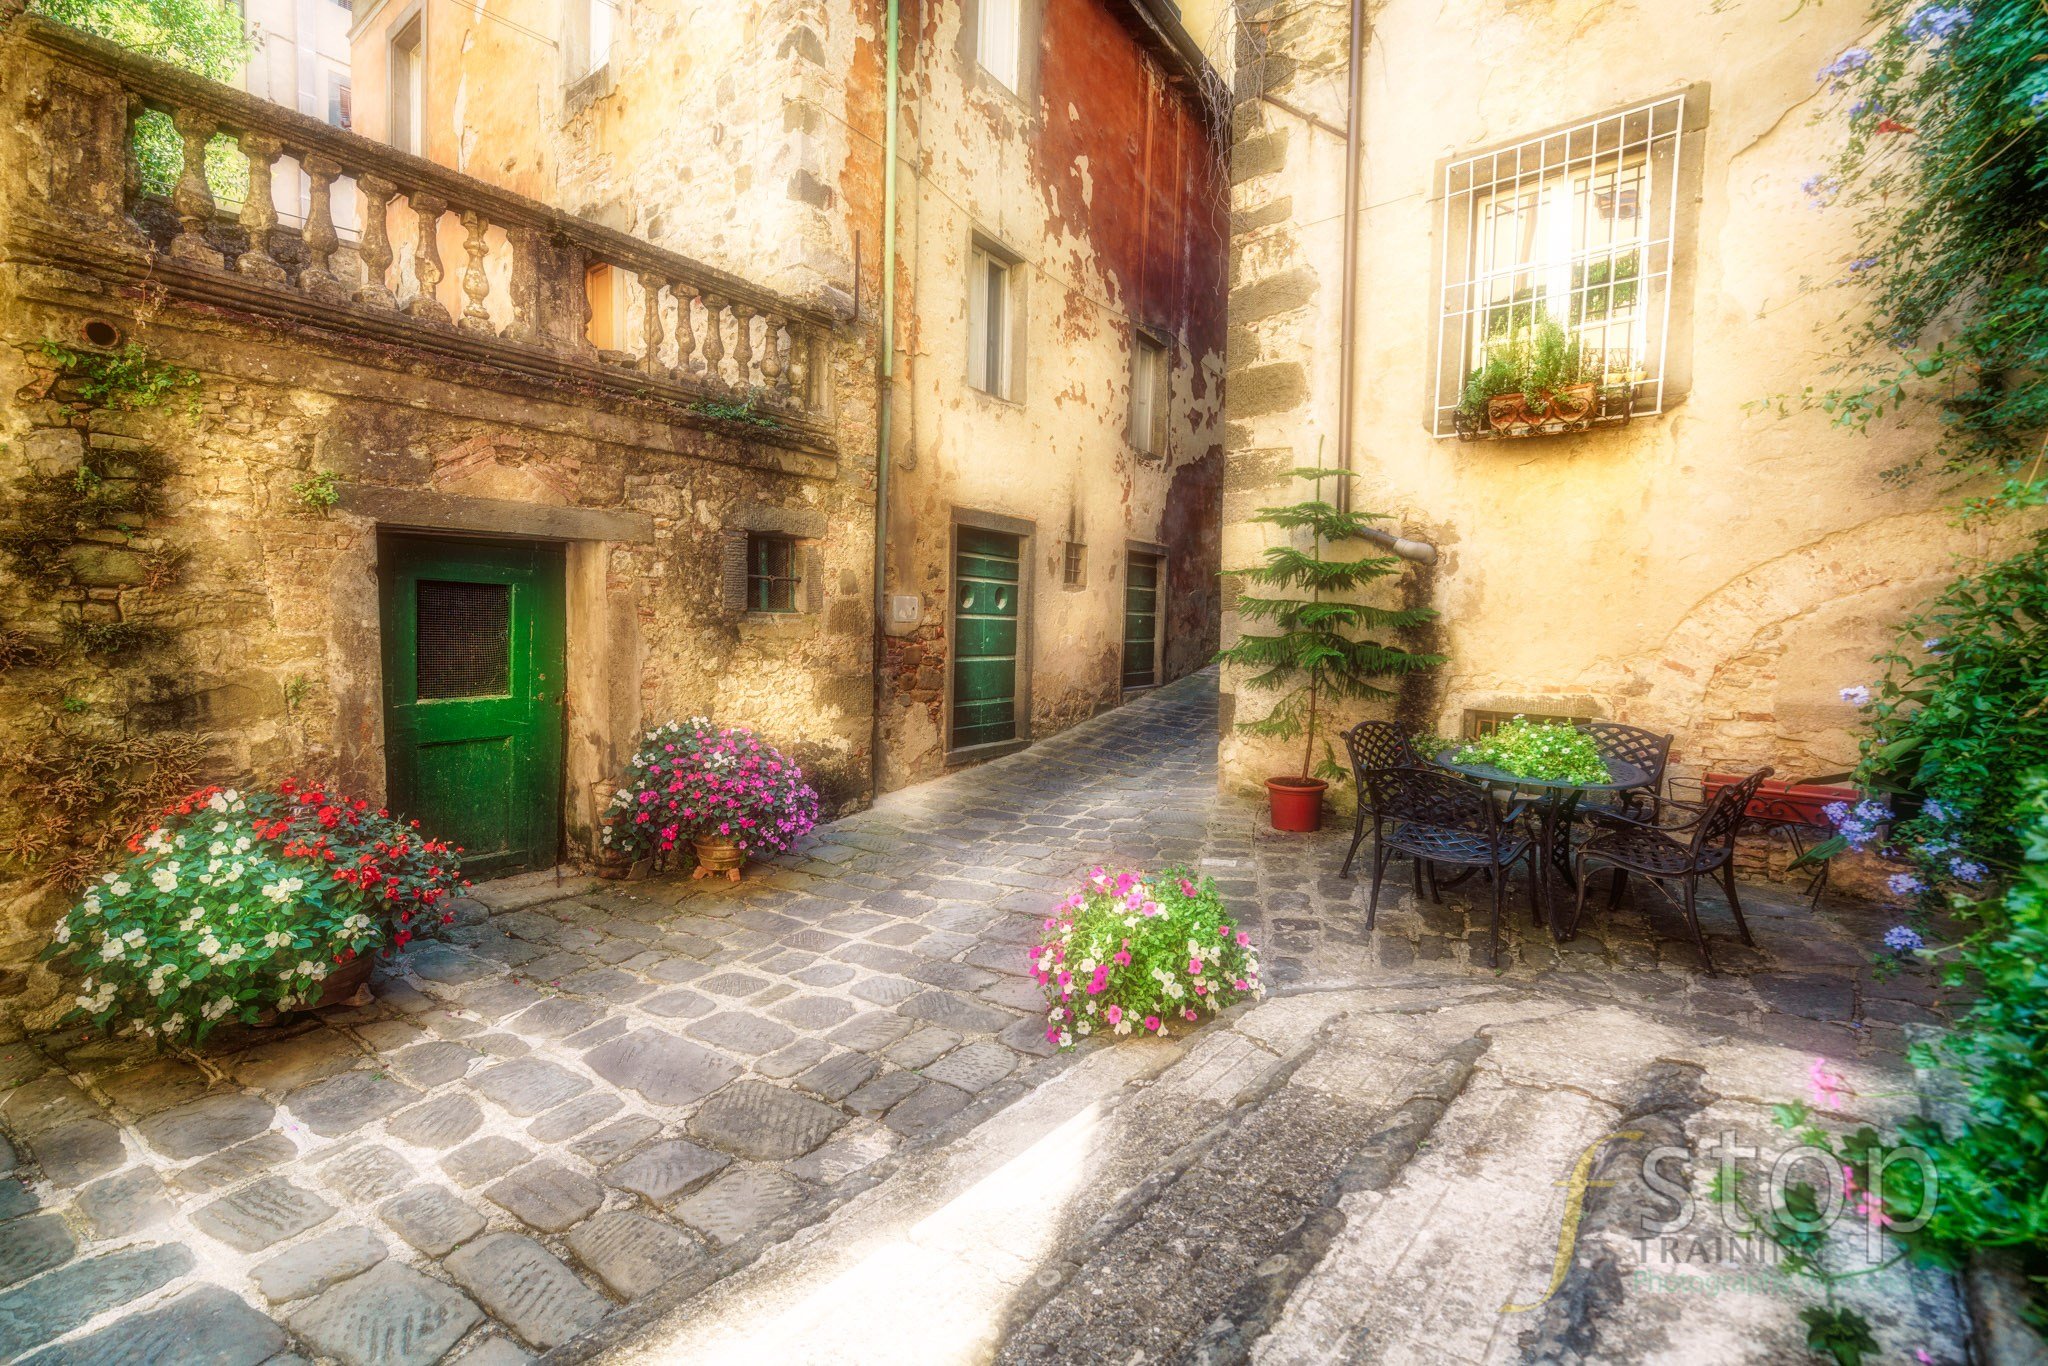
We can further refine the effect to prevent the highlights from becoming overexposed.
Fixing Overexposure in Orton Effect
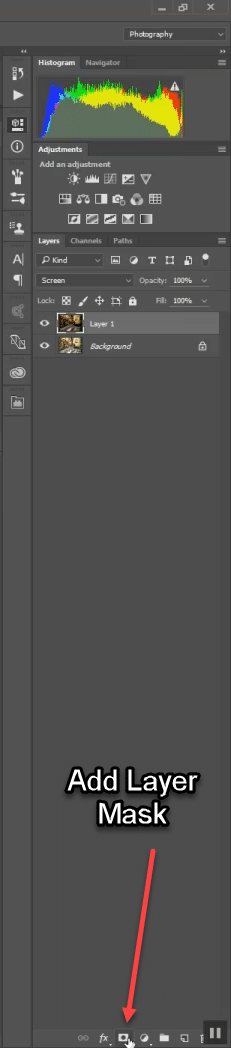
Step 5: Add a layer mask to the top layer by clicking on the Layer Mask icon at the bottom of the Layers palette.
Step 6: Navigate to the Image menu and again select, Apply Image… from the list. However, this time we will invert the selection by clicking the Invert check box. This will mask out the highlights and prevent their overexposure.
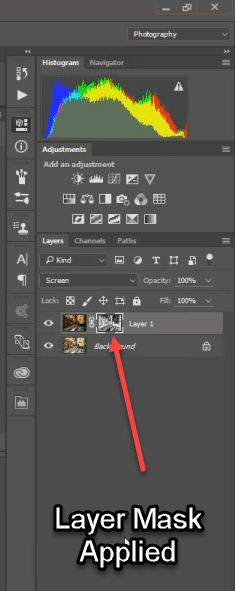
Done!

Orton Effect Photoshop Action
To use our free Orton effect Photoshop action, click on the button below to download the zip file. It will only take a second or two to download. Once unzipped, simply double click on the ATN file and Photoshop will launch and add the action to its list.
To use the action, open the Actions panel from the Window menu and ensure Action is ticked. Now, with an image open, click on the words Orton Effect in the Actions list and press the play button (small white triangle) at the bottom of the Actions window. Photoshop will run through all of the steps, pausing only to allow you to adjust the Gaussian Blur setting.
Conclusion
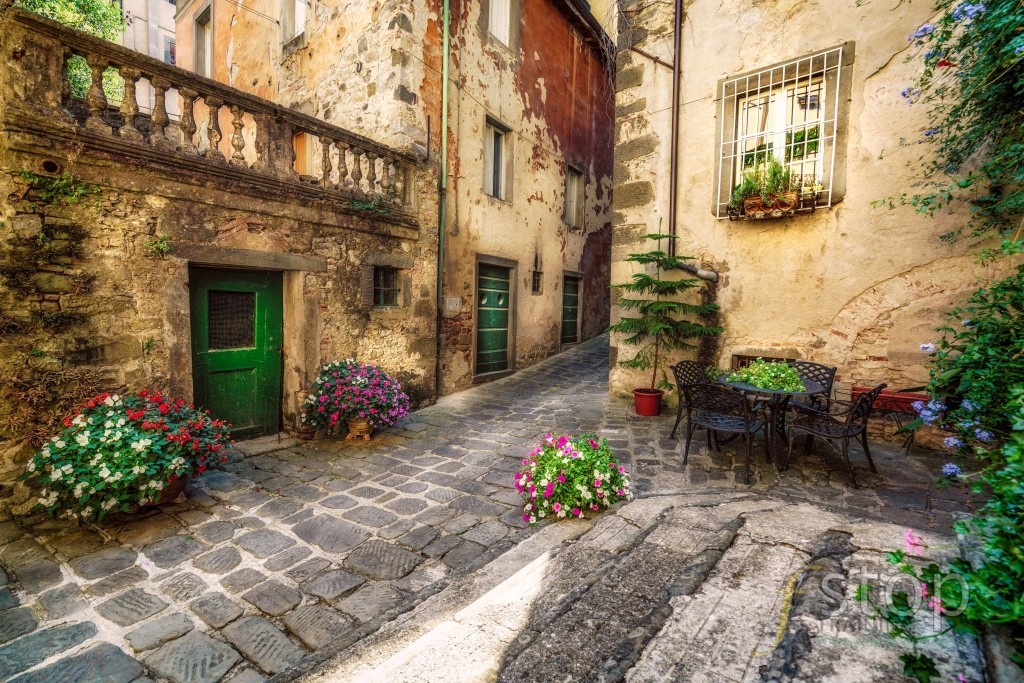
The Orton effect is a lovely simple way to add a nice dreamy and soft look to an image. It has become very popular with landscape photography. Now that you know how to apply and recognise the effect, a quick look through Instagram will reveal just how popular it is.
There are several plugins and filter packs that will create the effect for you with a single click. Nik filters, from Google, uses Glamour Glow to produce a similar effect.


Leave A Comment