

Being able to remove dust spots using Lightroom is an essential skill for any photographer who uses a digital camera. Why do we even get dust spots on our images in the first place?
It is inevitable that you will get dust spots on the sensor of your camera. If it hasn’t happened to you yet, you’re either wrong in thinking that, your camera is new, you have never changed the lens or you live in a dust free vacuum chamber.
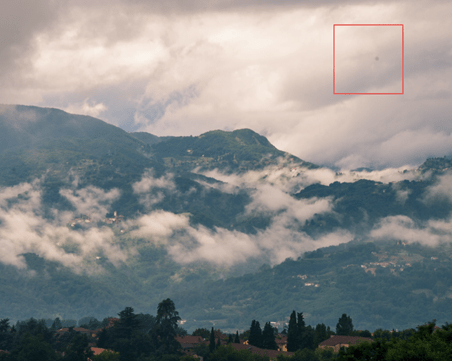
Sensor dust will appear as circular shadows on your image. The exact appearance will change depending on the type and shape of the dust as well as the nature of the image content and camera settings at the time of capture. They are most apparent in areas of the image that have smooth gradations and are light; a bright area of sky is where they are easiest to see. It is important to know, if you are using a single lens reflex (SLR) camera that if you see dust when you are looking through the optical viewfinder, this dust is either on the mirror or on the lens and not on the sensor. You can only see sensor dust in the image after you have taken the photograph. In other words, when it’s too late.
|
Full Image |
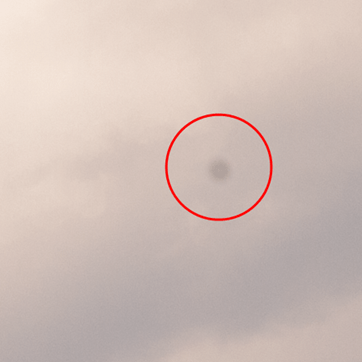
100% crop |
 |
 |
With dust spots being inevitable, it is essential that we know how to effectively remove them from our images. Thankfully, this is very easy in Lightroom and should be one of the first skills any photographer should know.
Removing Dust Spots in Lightroom
First, select the Develop Module by clicking on the word Develop at the top of the Lightroom workspace or press the D key on your keyboard.
![]()
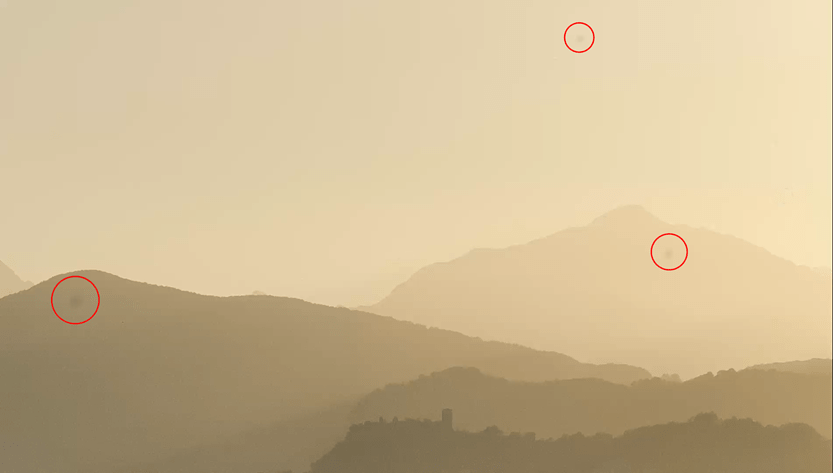
The image below is unfortunately ideal for seeing dust spots. There are actually quite a few on the image but the smaller and fainter of the dust spots are almost impossible to see after the image has been compressed and uploaded. Maybe a blessing but also a lesson in its own right; what looks good on the web, may look bad in print.
Let me show you how easy it is to remove these dust spots using Lightroom.
Once you have identified dust spots, select the Spot Healing Tool by clicking on the icon in the Local Adjustment Tool Bar, or press Q on the keyboard.
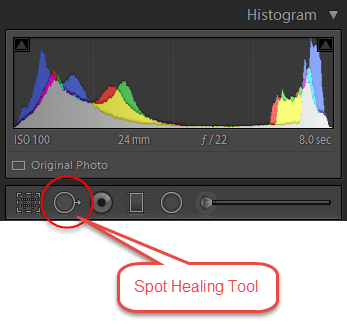
With the Spot Healing Tool selected, it is a simple task of placing the circular icon over the dust spot and clicking. Note, you can adjust the size of the tool by using the square bracket keys on your keyboard. The left bracket key –

Now simply repeat for all the dust spots on the image.
This is a very quick and simple introduction to removing dust spots using Lightroom. There are a few tweaks that can be added to this tool and technique but hopefully this has got you up and running. I will follow this up with another article discussing the advanced settings and techniques as well as an article about cleaning your sensor.
As always, please let us know what you think and subscribe to our newsletter to hear about all new articles, hints and tips as well as special discounts on our Tuscany workshops.


Good tip, thanks 🙂